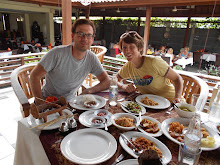
it was a long, multi-step process of outlining our vision for our batiks, melting wax, painting our shirts/pillow cases with wax, dying them in the different dye baths, repainting on wax, etc.
 b stirring the shirts/cases in the first dye bath: yellow. you have to start with the lightest colors and work your way darker. we did yellow, blue, and then black.
 after we went through all of the waxing, drying, and dying, you then need to get the wax off the shirt. we ruined our iron and ironing board doing this, but we made some progress.
we still aren't done getting all of the wax off. maybe I will work on that some tonight. it's a long, slow process to make batiks. b and I agreed that we'll never look at the cost of a handmade batik and think it's too expensive again (unless, of course, it is!). it's a really long and labor intensive process, but we had a good time. i'll post the pictures of our final products once we get all of that wax off.


2 comments:
Brian's shirt looks awesome! I can't wait to see all of the finished products!
Wow. It looks professional. What a fun project.
Post a Comment